- Home
- >
- GUIDE FOR CREATION OF A CUSTOM KATANA
GUIDE FOR CREATION OF A KATANA
To create the koshirae (sword mountings) of a Katana there are various steps to follow and the most important is the tsuka (handle). To carve a customised tsuka (handle) the full blade of the katana is necessary. The koshiraeshi (craftsman) always begins his work on quality wood that must be light, resistant and closed pore.
Both the tsuka (handle) and the saya (scabbard) must fit like a glove, and for a perfect fit using gouges the koshiraeshi will carve the planes of the nakago (tang) on the handle and blade next to the habaki (blade collar) on the saya (scabbard). Once the inside is carved, the two parts of the handle and and scabbard are stuck using traditional glue made with cooked rice mashed with a spatula, to which drops of water are added until reaching a sticky paste.
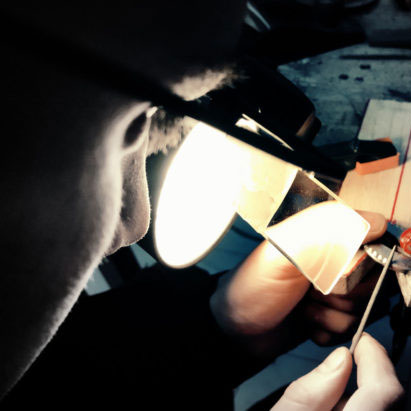
Once the parts are stuck, the koshiraeshi begins to shape the handle and scabbard with the help of various brushes, files and sandpaper.
The handle will take the form appropriate to the koshirae style chosen. The length will depend on the length of the blade and on the corporal measurements of the customer.
The handle is traditionally lined with shark skin. The quality of the ray skin in this case must be excellent, the centre is used where you find the central node.
When the handle is lined with the shark skin, the work on the wood is more complex and delicate, as you need to keep a very tight fine volume. This is called the lower polish of the handle.
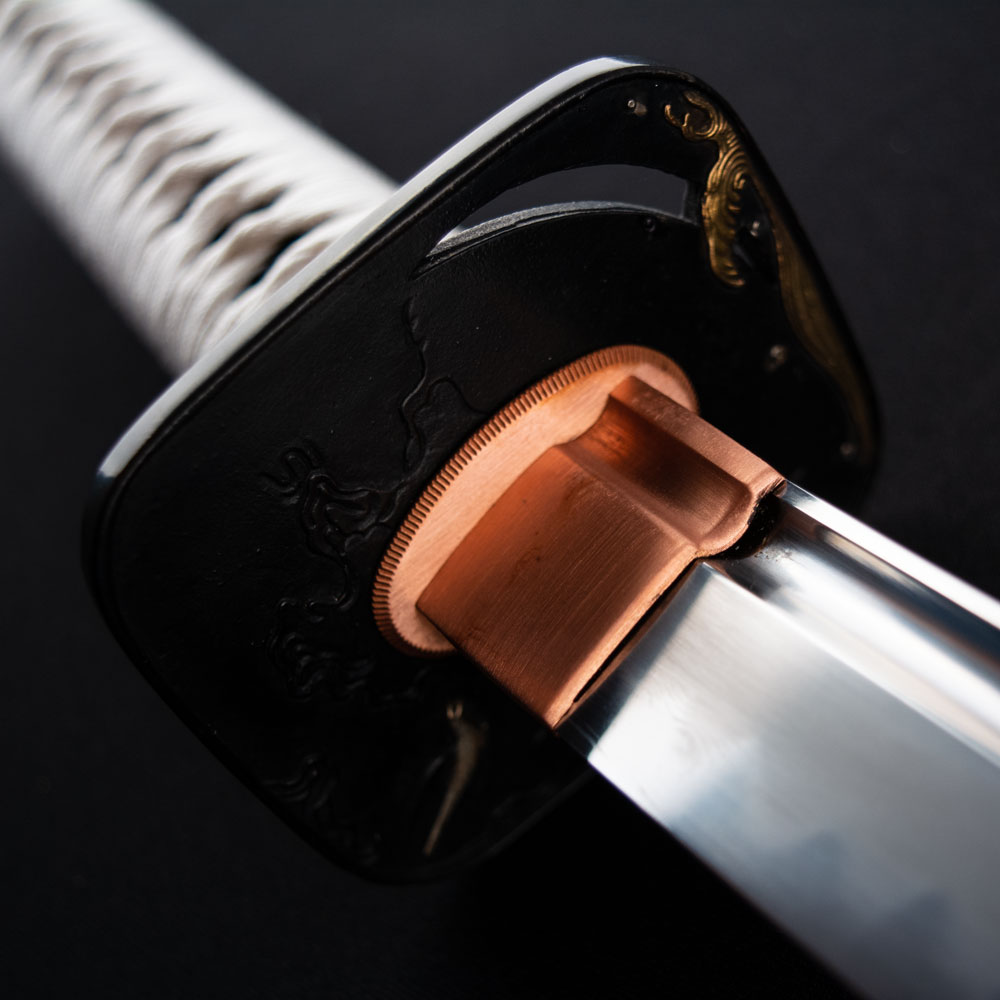
The fuchi (handle collar) and the kashira (butt cap) must fit tightly. The work on the wood on this part of the handle is done with a knife.
On the ura (hidden side) and the omote (front side) where the knots of the wrapping rest, the wood is worked down so that the knots remain on the inner/hidden side and do not protrude too much.
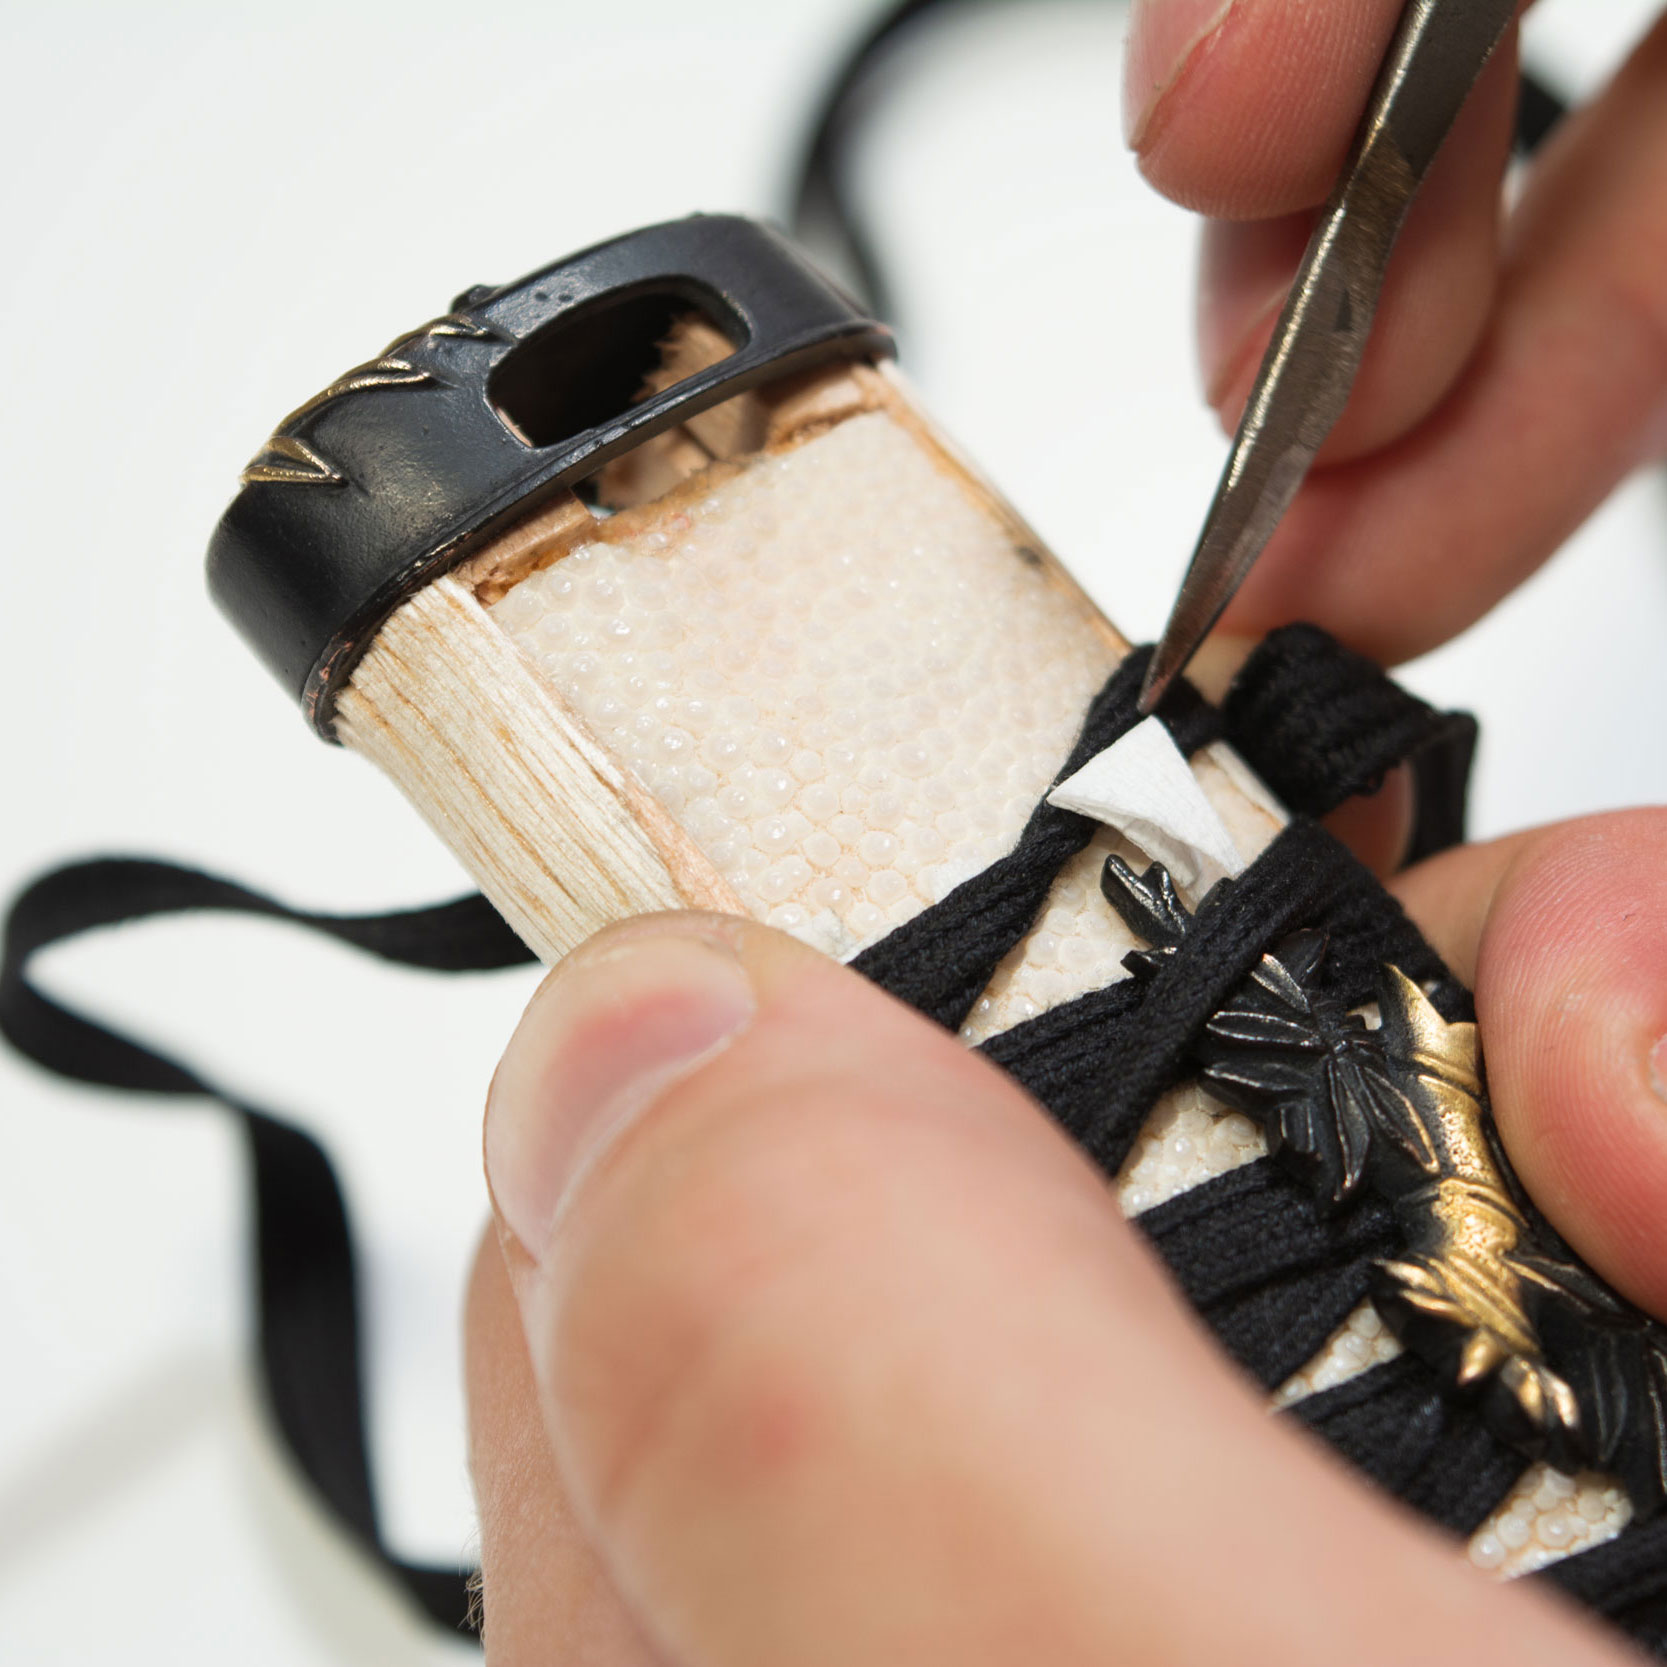
To finish the handle, two fine strips of wood, very close together, are fitted into the sides. These give anchor to the hishigami (paper wedges) and enhance the sliding of the ito (cloth braid)
Also included on the omote (front side), just where the cloth braid will rest, is a fine strip of wood to give volume to the cloth braid in this area so that it has the same volume as the paper wedges.
The handle with shark skin panels instead of the wrapping, has similar whittling work but is not thinned quite so much as the ray skin is encrusted in the wood
The handle wrapping is done once the ray skin is glued and the peg adjustment
finished.
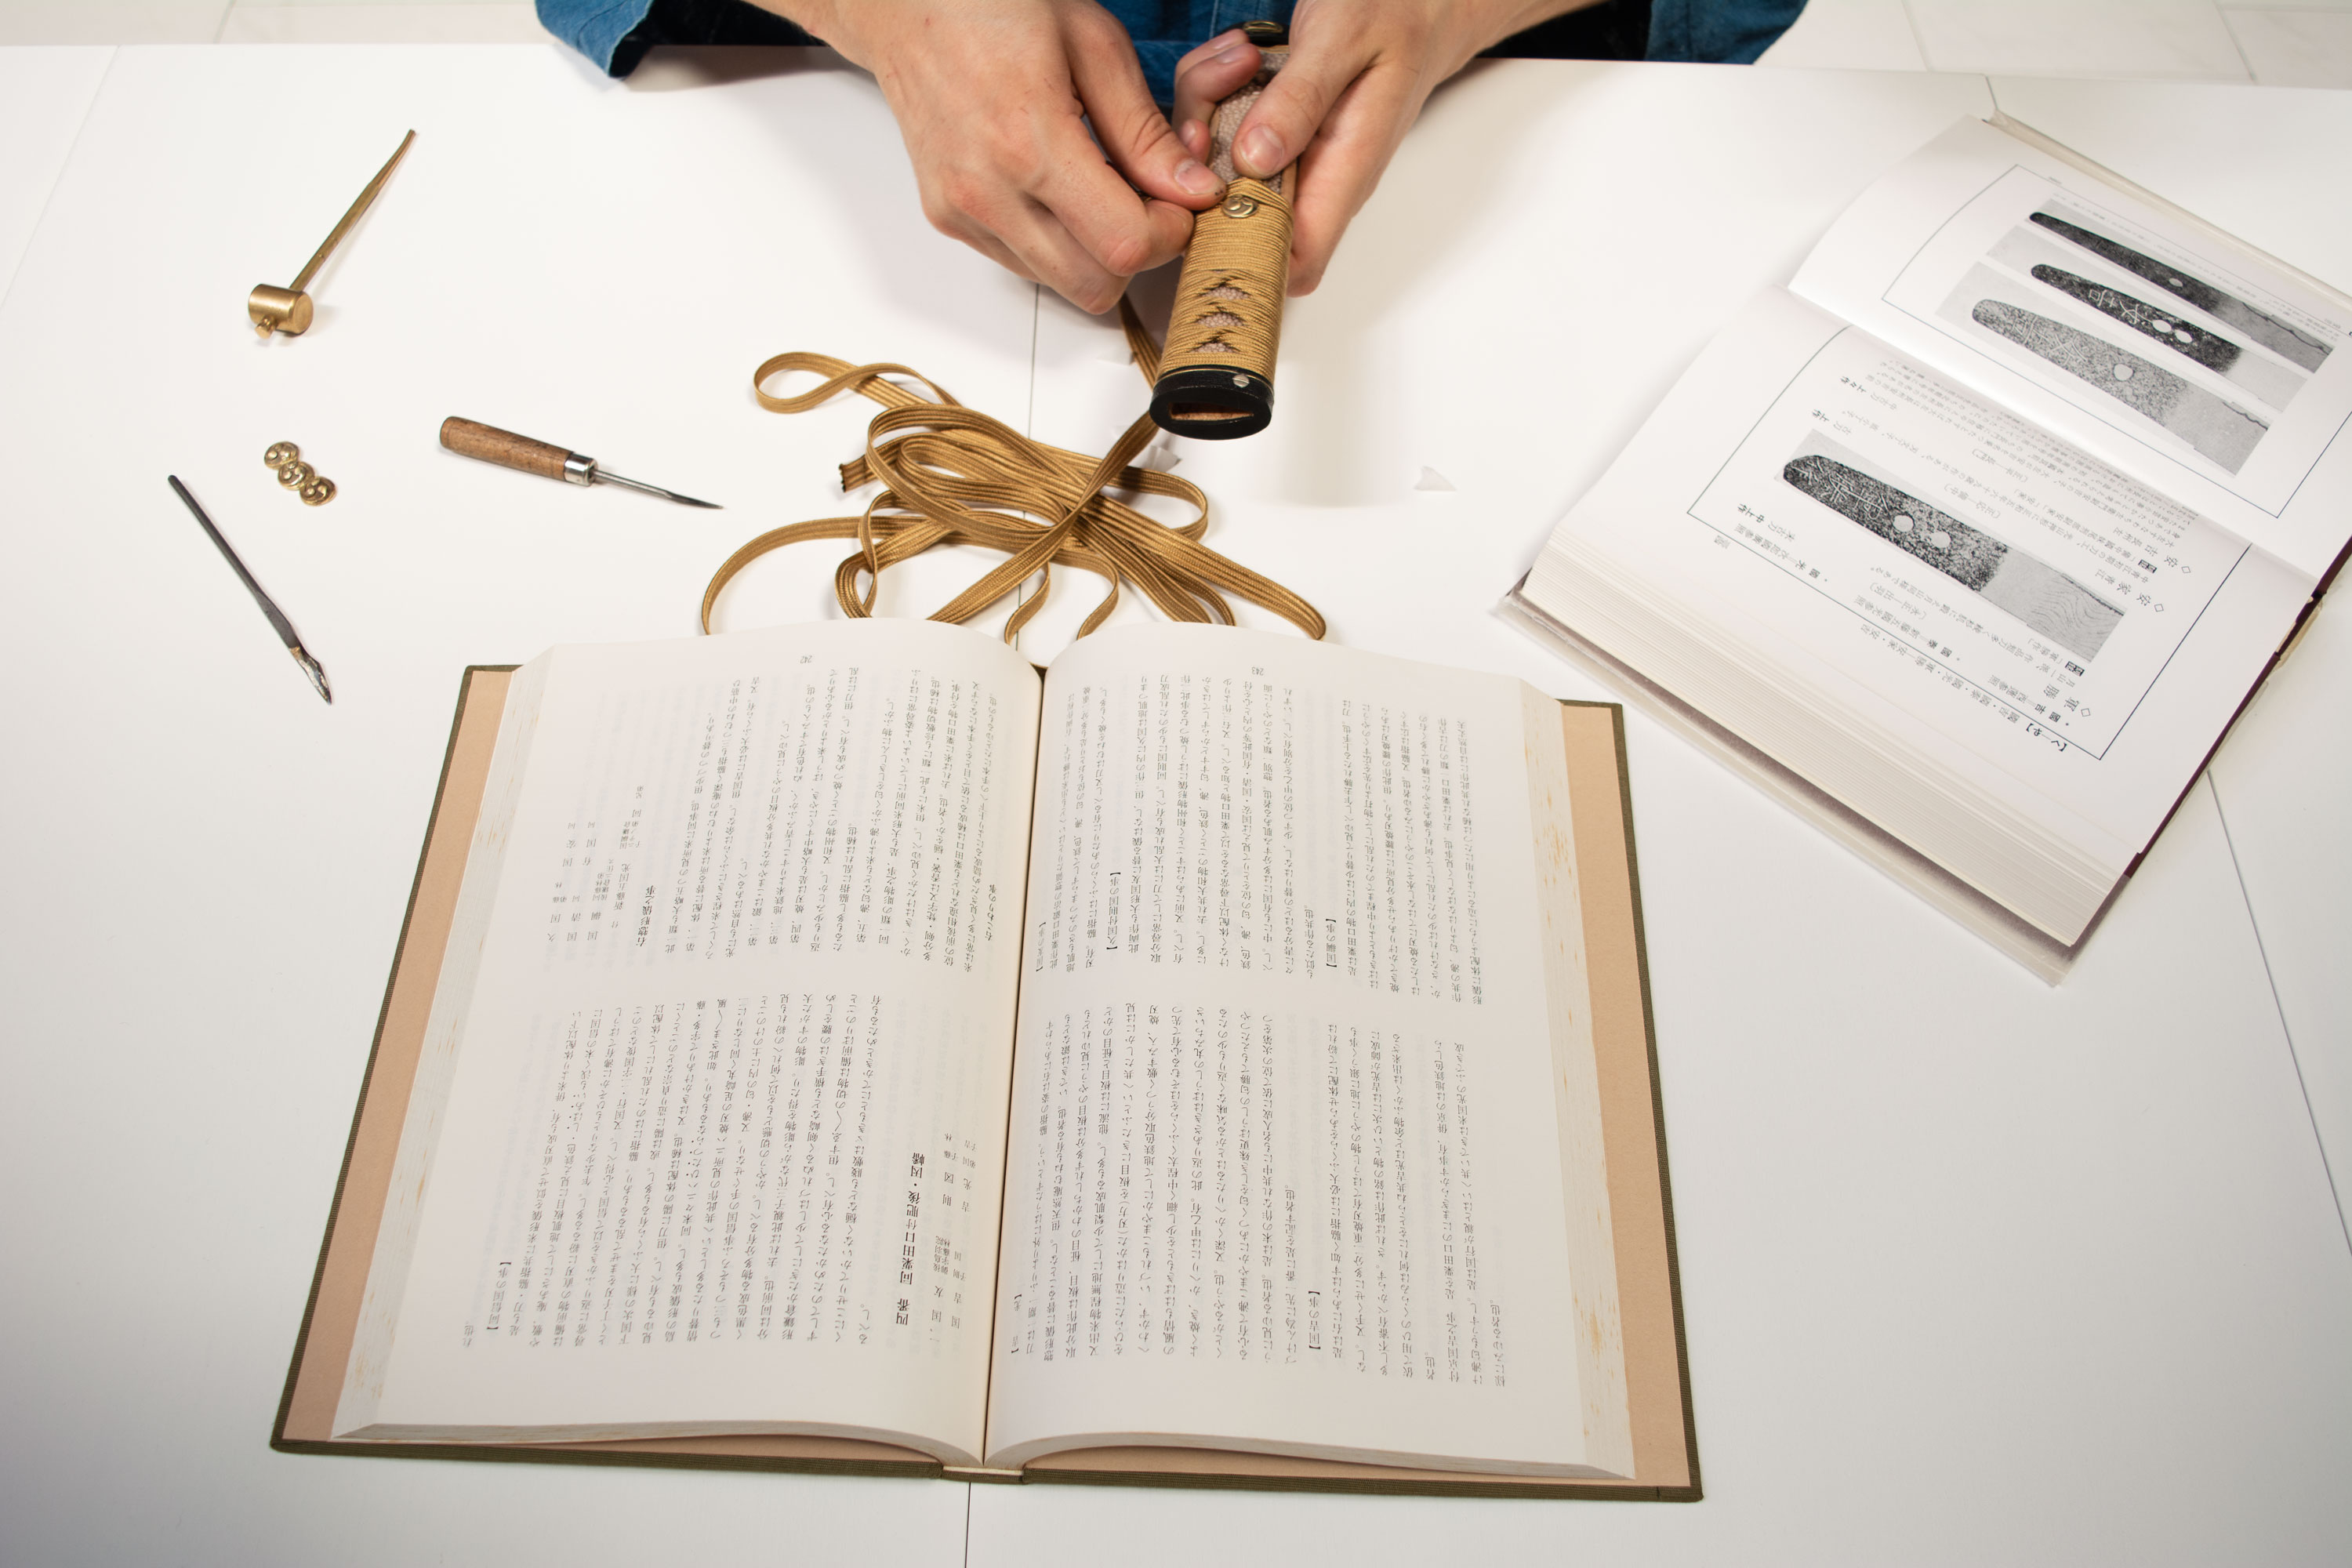
The choice of wrapping style may be aesthetic or functional. The martial artist will opt for the best grip and the emotion it transmits, while the collector will focus on the purely aesthetic.
There are many styles of handle wrapping, the koshiraeshi knows all the traditional styles and has his own specialities.
Before beginning the task, the tsukamakishi (sword handle craftsman) will make the paper wedges measured to the exact millimetre of the braid and width of the bishi (rhombus).
If the ray skin is white, he will use white paper wedges, while if the ray skin is black, the paper of the wedges is painted black.
The art of handle wrapping is complex and requires many years of study and
dedication to understand and develop it professionally.
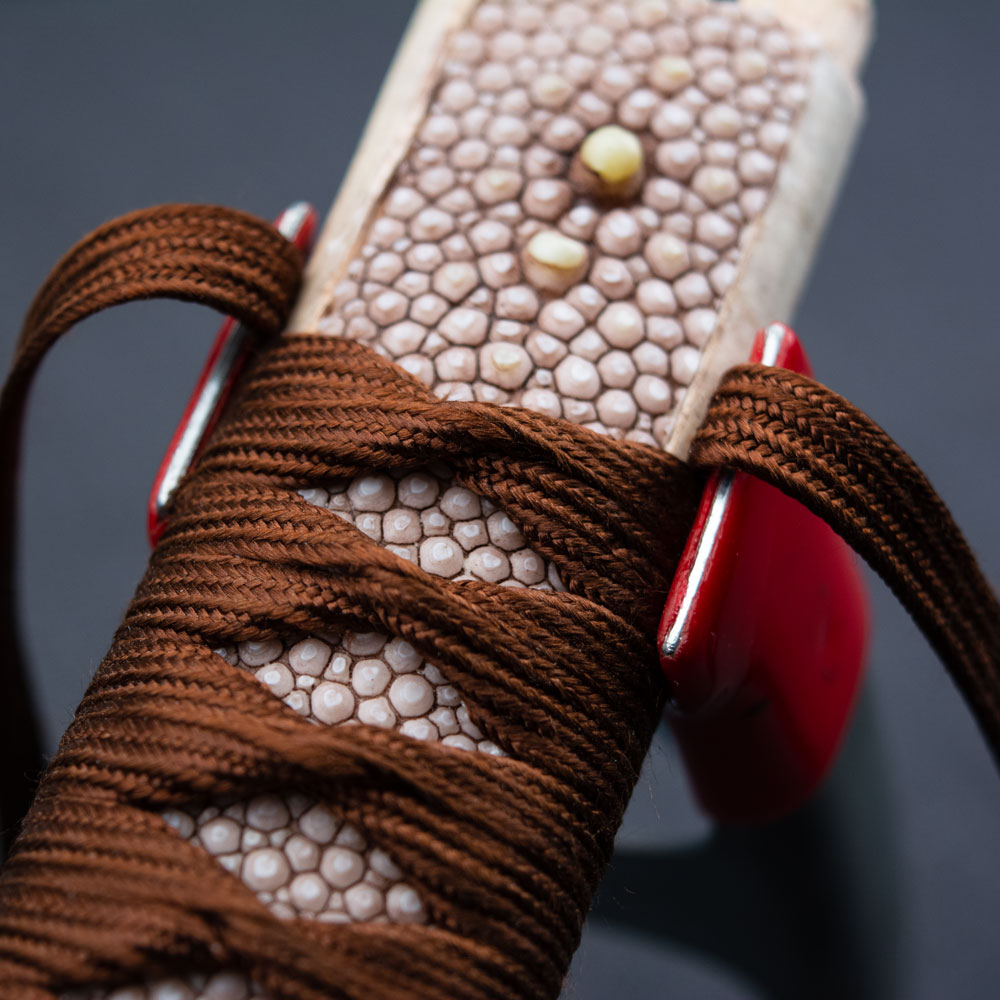
The sword-handle craftsman works the wrapping with the help of different tools, made by himself, to be able to tighten the braid against the paper wedges thus sculpting the rhombus, which must be symmetrical.
The kusune (traditional glue) is a sort of dry pitch which the tsukamakishi coats on the braid so that it adheres to the wood. Each koshiraeshi makes his own kosune and there are different types of recipes, for summer or winter.
The base of the kusune is a pine resin and vegetable oil which is cooked and treated with cold water. Using a wooden stick the substance is rubbed on the braid.
A professional tsukamaki (handle wrap) must be symmetrical and resistant to wear-and-tear. The paper wedges will not be seen and the direction of the braid must be zig-zag, alternating from left to right at every step. The final knot must be positioned onthe front side. The shapes of these knots must be rounded and folded over themselves to occupy the least possible space.
Afterwards, depending on personal taste and options, you can add pieces, koiguchi(scabbard mouth), kurikata (knob) and kojiri (scabbard tip), in metal, leather, bone, etc. which will be carved and fitted by the koshiraeshi.
The last stage is the lacquering of the scabbard. It is possible to choose among many types of laquer and combinations and to add protection such as ray skin and rattan.
Their function is not purely aesthetic as they also serve to protect and in other cases to repair cracks in the scabbard.
Basically these are the stage to follow in the creation of the koshirae of any katana.